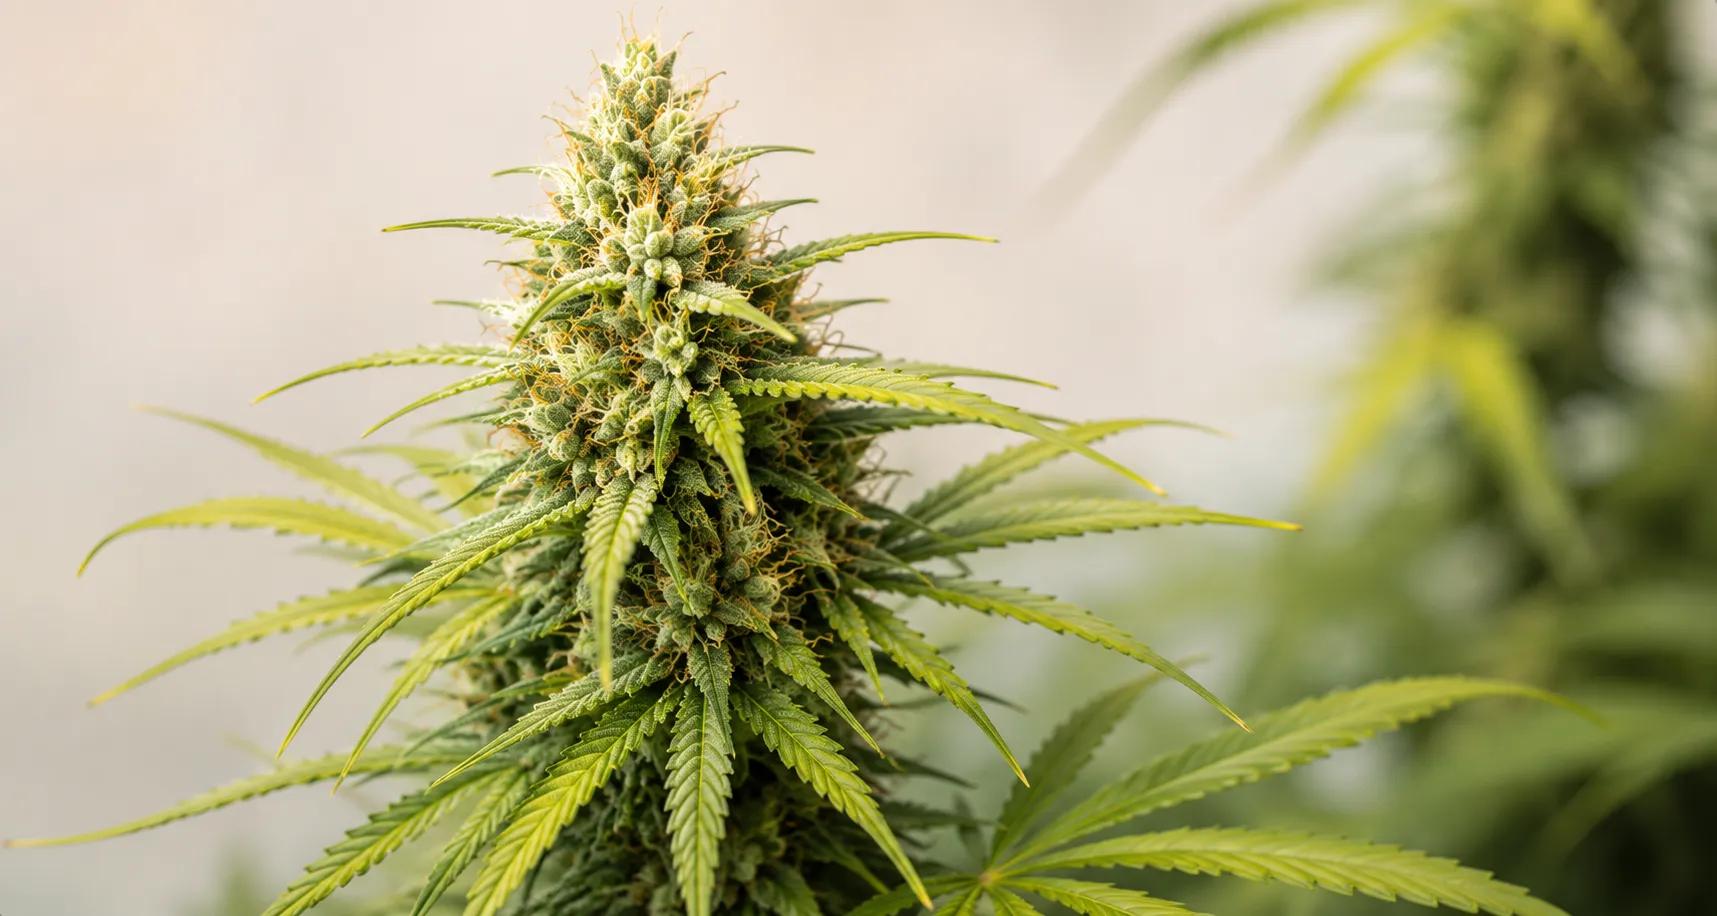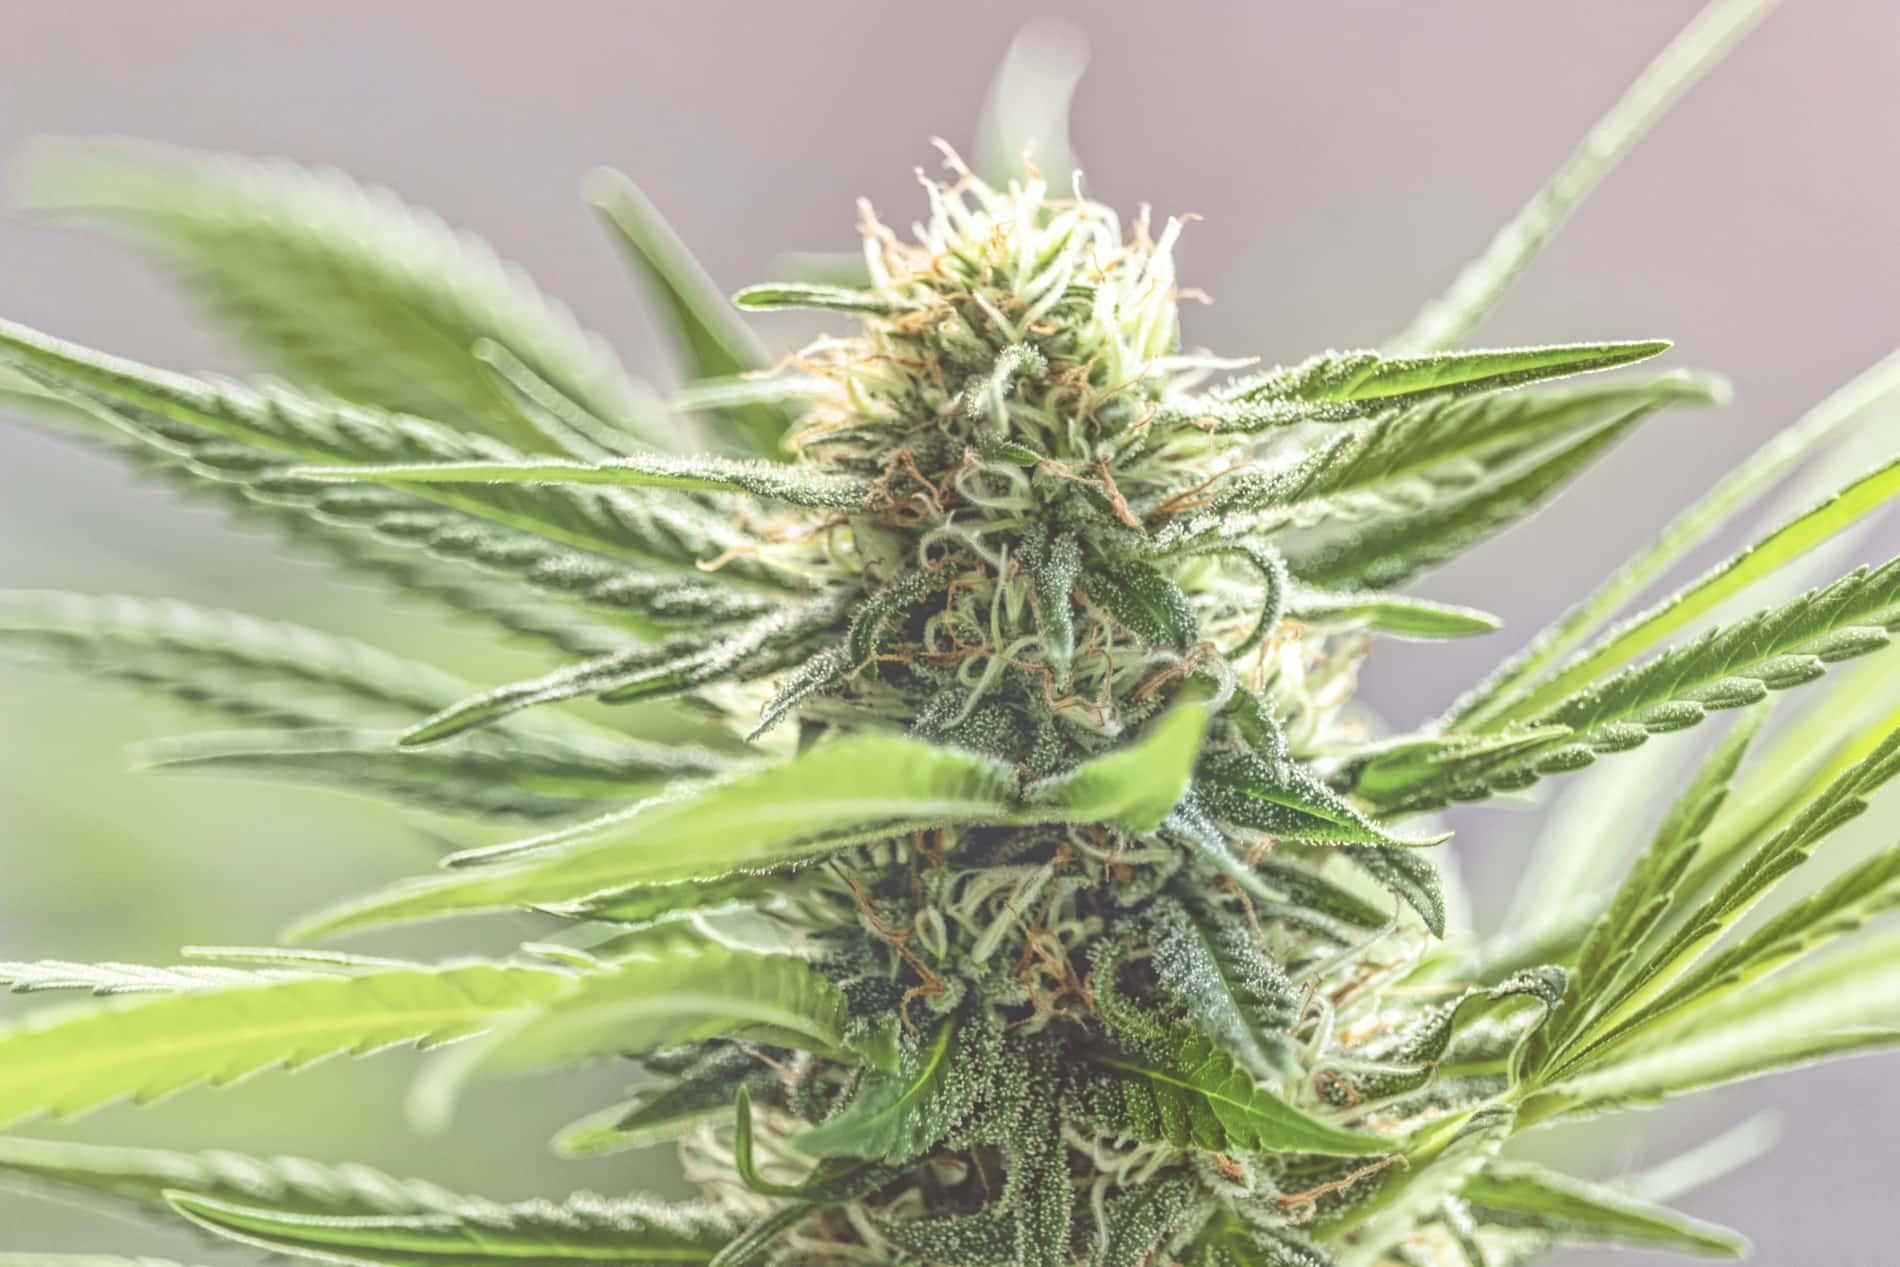
Autoflowering cannabis seeds have become very popular with growers of all levels. Their fast cycle, which lasts between 8 and 12 weeks, and their small size (usually between 50 and 100 cm) make them an ideal choice for small outdoor spaces such as balconies or discreet gardens. As they don't need a change in photoperiod to flower, they are easier to grow than photoperiod cannabis strains.
If you are thinking of getting started with this kind of growing or want to improve your results, this guide gives you a clear, practical and up-to-date overview of how to grow autoflowering cannabis from seed to harvest, both outdoors and indoors; you will also learn which mistakes to avoid and how to get the most out of your autoflowering cannabis plants, whether from THC-rich seeds or seeds high in CBD.
Legal notice: this article is for information only and is intended for adults in countries where growing cannabis is permitted. Check the cannabis growing regulations that apply where you live.
What are autoflowering seeds?
Autoflowering seeds are those that flower automatically, without depending on the photoperiod (hours of light and darkness). This is down to their ruderalis genetics, a type of cannabis native to cold regions with short summers. These plants have a short life cycle, which usually lasts between 56 and 85 days from germination to harvest.
Unlike photoperiod seeds, which need a change in the hours of light to start flowering, autoflowering plants flower automatically, which makes growing much simpler, especially for beginner cannabis growers. These strains can be either THC-rich cannabis or CBD cannabis, depending on the strain you choose.

Advantages and disadvantages of growing autoflowering cannabis
Advantages:
- Quick harvests: you can get several harvests a year or bring the harvest forward before the cold weather sets in.
- Small plants: they adapt well to small spaces such as balconies, terraces, gardens or grow tents.
- Easy to grow: they need fewer nutrients and are less at risk from pests because they are exposed for less time.
- Cold-resistant: their ruderalis genetics make them hardy in low temperatures. You can grow autoflowering plants even in winter, as long as the temperature stays above 15-16 °C.
Disadvantages:
- Lower yields because of their small size, compared with growing larger photoperiod feminised seeds.
- Little room to correct mistakes: their fast cycle leaves little time to recover from problems. Any problem (lack of light, overwatering, transplanting, stress) directly affects the final yield.
- They can't be transplanted many times: stress slows their growth, so they should go into their final pot from the start.
- Lower THC potency: although they have improved a lot, in most cases they are still somewhat behind photoperiod strains.
Once you have weighed up the pros and cons of autoflowering strains, you can decide whether autoflowering or photoperiod strains suit you better. If you want small plants that give a quick harvest and you are not too worried about yield, or you simply want to get started growing cannabis, autoflowering strains will suit your needs perfectly. On the other hand, if your priority is bigger harvests and higher THC content, you are better off with feminised photoperiod seeds.
Stages of growing autoflowering cannabis: week by week
Choosing your seeds
Go for quality strains and take cold resistance into account if temperatures are not very high where you live. Check details such as growing time in weeks, expected yield or THC/CBD content to make sure they fit your goals.

Week 1: germination and first days
Germination is the first step towards a successful grow. You can use several germination methods. One of the most practical and safest is Jiffy pellets (pressed peat or coco pellets). Jiffy pellets hydrate easily, hold the moisture they need and give young roots excellent aeration. You can also use the damp paper towel method or sow straight into the growing medium.
During the first days of germination, try to keep a stable temperature of between 20 and 25 °C and high humidity (70-80%). Within a few days you will see the cotyledons and the first true leaves. Ideally, move from the Jiffy to the final pot (or the ground) as soon as possible, when the first true leaves appear, to minimise stress on the roots.
Weeks 2-3: planting and vegetative growth
If the ground is suitable and gets as much light as possible, it is better to plant straight into the ground. Prepare it by turning and loosening the soil and working in fertiliser, so you have loose, nutrient-rich soil that helps the roots establish. If you grow in pots, use large pots, which will be their final ones (at least 18 litres, preferably 25), in light colours such as brown or white rather than black.
If you have used a Jiffy to germinate, remember to remove the paper mesh around the Jiffy's soil before transplanting the plant.
During this first stage, the plant needs a base rich in nitrogen (N), as this nutrient stimulates the growth of stems, leaves and roots. Growth fertilisers with NPK formulas such as 3-1-2 or similar are used. Use a quality growing medium for the best results, as these come pre-mixed with perlite and fertiliser, perfect for good drainage and optimal plant growth.
During the first weeks, the plant develops new leaves, stems and roots. It is essential that it gets as much light as possible and that the medium is neither dry nor waterlogged. Avoid transplanting at this stage so as not to slow its growth.
Weeks 4-5: start of flowering
You'll know your plants are starting to flower when the first white pistils appear, marking the end of vegetative growth. From then on, the cannabis plants will have one last stretch before focusing on forming buds. It is essential to adjust feeding to this new phase: they need less nitrogen and more phosphorus (P) and potassium (K), so it is best to use a good bloom fertiliser, with formulas such as NPK 1-3-2 or 0-5-4.
Weeks 6-8+: bud bulking and ripening
The buds increase in size, density, aroma and resin content. You can apply a bloom booster if you like. Towards the end of this phase, check the trichomes with a loupe to work out the best time to harvest. Indoors, keep good ventilation to prevent mould.

Flushing
Flushing is essential to improve the final flavour and aroma of the buds. It is usually done 7 to 10 days before harvest, watering with plenty of clean water (pH-adjusted) and using at least twice the pot's volume to wash out excess salts. After this, the plant carries on ripening on plain water until you chop. How heavily you flush depends on the type of fertiliser: with organic fertilisers it is enough to stop using them 3 or 4 days before harvest and do a light flush, whereas mineral fertilisers need a more thorough rinse to properly remove the built-up salts.
When should you harvest autoflowering plants?
The colour of cannabis trichomes shows the optimal harvest point, the one that preserves the cannabinoid and terpene profile: the plant's active compounds, responsible for its flavour, aroma and effects. Trichomes are tiny glands that cover the plant and are most concentrated on the cannabis flowers or buds.
The best way to know when to chop is to look at the trichomes with a jeweller's loupe (at least 30x):
- Clear trichomes: not fully developed yet.
- Milky trichomes: maximum cannabinoid concentration, potent effect.
- Amber trichomes: more relaxing, sedative effect.
Most growers harvest when 70-80% of the trichomes are milky and 10-20% are amber.

How to tell when cannabis buds are mature
How to grow autoflowering cannabis indoors
Growing autoflowering plants indoors is an excellent option to control every environmental factor and ensure quick harvests all year round.

Kit you need to grow indoors
- Grow tent or a space with good ventilation and light control
- LED or LEC grow light
- Timer to set the light hours (18/6) - Switches the light on and off automatically to keep a constant photoperiod.
- Extractor fan, intake fan and oscillating fan - Regulate the temperature, refresh the air and prevent humidity build-up.
- Final pots, preferably fabric, between 11 and 18 litres - Allow good root development without the need to transplant.
- Light, airy growing medium (a mix of peat, coco and perlite) - Helps oxygenation and drainage, ideal for autoflowering plants.
- Specific fertilisers for growth and flowering
- Jiffy pellets or a reliable germination system - Make germination safe and stress-free for the seedling.
- pH and EC meter (optional but very useful) - Checks the water's acidity and salt concentration for balanced feeding.
- Thermo-hygrometer to monitor temperature and humidity - Keeps track of the key environmental conditions of your grow.

Drying and curing the buds
Once the plants are cut, the process isn't over. Drying and curing are essential to preserve the flavour, aroma and potency of the buds.
Drying:
- Hang the branches upside down in a dark, ventilated place with a temperature of between 18 and 22 °C.
- Relative humidity should be between 50% and 60%.
- The process takes between 7 and 14 days, depending on the climate and the size of the buds.
- The buds are ready when the small branches snap cleanly when you bend them.
Curing:
- Store the dried buds in airtight glass jars (Kilner-type jars).
- Open them once a day for the first 10-15 days to let fresh air in (this is called burping).
- Curing can last from 3 weeks to several months. The slower and more controlled it is, the better the end result.
Good drying and curing noticeably improves the flavour, makes the smoke smoother and stabilises the cannabinoid and terpene profile.
More about drying and curing cannabis
Common mistakes when growing autoflowering cannabis (and how to avoid them)
- Overwatering: it can drown the roots and cause mould. Let the medium dry out between waterings.
- Unnecessary transplanting: transplant stress can stall their growth.
- Lack of light: it limits growth and bud formation.
- Over-fertilised medium from the start: it can burn young roots.
- Not measuring the water's pH: it affects nutrient uptake. Keep the pH between 6.0 and 6.5.
Final tips for a successful grow
- Choose quality autoflowering seeds from reputable seed banks, preferably with solid breeding work behind them that ensures stability, productivity and resistance. Choose strains suited to your goals, whether that's high-THC yields, CBD content or growing in specific conditions.
- Keep a grow diary with watering, feeding and observations.
- Do a root flush (water only) 7 to 10 days before harvest, especially if you have used mineral fertilisers or high concentrations. Although the autos' cycle is short, a well-timed flush helps remove excess salts built up in the medium and noticeably improves the flavour, aroma and smoothness of the final bud.
- Don't handle the plants too much, especially during flowering.
- Take photos and notes to learn from each grow.
Growing autoflowering cannabis can be as easy as it is rewarding, even for those new to the world of cannabis. Thanks to their fast cycle, their hardiness and how easy they are to manage, these plants allow frequent, quality harvests with minimal complications. By following this step-by-step guide and avoiding the most common mistakes, you'll be able to get the most from every grow, indoors or outdoors, and enjoy your own autoflowering cannabis buds, whether THC-rich or high in CBD. Good luck and happy growing!
This content is for information only and is intended for adults in countries where growing cannabis is permitted. Check the cannabis growing regulations that apply where you live.
Bibliography on growing autoflowering cannabis
- Marijuana Horticulture: The Indoor/Outdoor Medical Grower's Bible, by Jorge Cervantes (2006). Van Patten Publishing.
- The Cannabis Encyclopedia by Jorge Cervantes (2015). Van Patten Publishing.
- The Cannabis Grow Bible: The Definitive Guide to Growing Marijuana for Recreational and Medicinal Use by Greg Green (2017). Green Candy Press.
- Cannabis Grower's Handbook: The Complete Guide to Marijuana and Hemp Cultivation by Ed Rosenthal (2021). Quick American.
- Revista Cáñamo, a magazine specialising in cannabis growing. The number one reference in Spain.
- Iniciación al cultivo del cannabis autofloreciente (Spanish edition of DIY Autoflowering Cannabis) by Jeff Lowenfels (2019). Ediciones Melusina.
Frequently asked questions about growing autoflowering cannabis (FAQ)
When is the best time to grow autoflowering cannabis outdoors?
Outdoors, autoflowering plants can be grown almost all year round as long as the temperature doesn't drop below 15-16 °C, although the best results come when the days are longer and warmer. If you are growing on a terrace or balcony, ideally start germinating from around late April or early May (northern hemisphere), so the seedlings are ready to make the most of the good weather in May, June and beyond. If you are growing indoors, none of this matters.
How many hours of light does an autoflowering plant need?
Indoors, ideally give them 18 hours of light and 6 of darkness throughout the whole cycle. Outdoors, they will grow better if they get at least 5-6 hours of direct sun a day.
What time of day is best to water autoflowering plants outdoors?
Outdoors, it is best to water cannabis early in the morning (between 7 and 8 am). If that isn't possible, water in the evening to stop the strong sun from overheating or burning the roots.
How much does an autoflowering plant yield?
Yield depends on many factors (strain, conditions, light, nutrients), but it usually ranges from 25 to 100 grams per plant indoors, and up to 200 grams outdoors in optimal conditions.
Are autoflowering seeds feminised?
Yes, most autoflowering seeds on the market are feminised. This means they produce almost exclusively female plants, which are the ones that develop cannabinoid-rich buds. Even so, it is important to buy them from reputable seed banks to avoid surprises.
Should you prune autoflowering plants?
Heavy pruning is not recommended. Autoflowering plants have little time to recover, so only very light pruning or techniques such as LST (Low Stress Training) in the first few weeks are recommended.
What water should you use for cannabis?
Your water should be good quality, with the pH adjusted to between 6.0 and 6.5. If the pH is too high, correct it with specific products. The right pH ensures proper nutrient uptake, so regular measuring is recommended.
How much feeding do autoflowering plants need?
They need less fertiliser than photoperiod strains, but it is still important to feed them to prevent deficiencies. During the first few weeks, root stimulators or mycorrhizae are recommended for optimal root development.